Setting up IntelliJ IDEA
Note - I use IntelliJ Ultimate with the Darcula theme, your IDE may look slightly different
If you do not have a subversion client installed you should install tortoisesvn and tick the option to install the command line tools during installation
(Newbie Notes: I'm new to this sort of work, and in following this guide, I found a couple pieces of software I needed over and above what was specified. Namely, the command line tools for tortoisesvn(I used this), as well as the Java SDK itself. I also found that the Java SDK didn't work when I installed it to my E: drive, and I needed to put it on C: instead. I have absolutely no idea if those command line tools are optimal or why the drive letter mattered, but it may be helpful for any others who are going into this blind)
1. Open IntelliJ IDEA and hit file -> New -> Project from version control -> Subversion
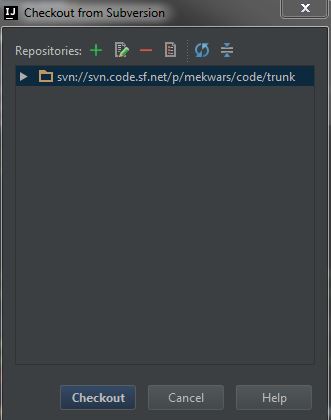
2. Click the green + and enter the url for Mekwars ( svn://svn.code.sf.net/p/mekwars/code/trunk ). Highlight the added repository and click on Checkout
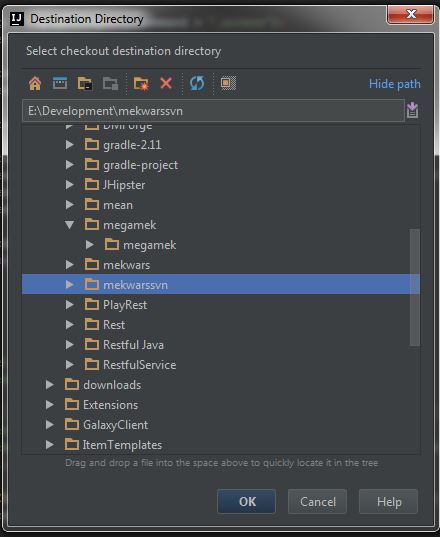
3. Create a directory to store the code by clicking on the folder icon then highlight the folder and click ok (mekwarssvn in this example)
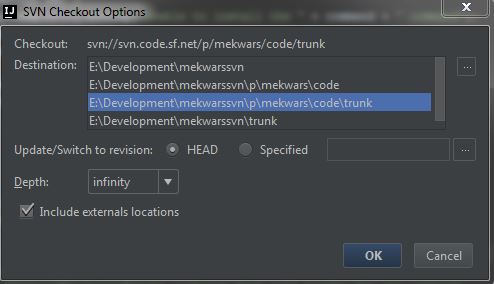
4. Highlight the <pathtoproject>\p\mekwars\code\trunk and click ok
5. Select the 1.8 format if prompted, you should see "Checking out files to blahblahblah" and a progress bar at the bottom of your IDE. Once finished you will be prompted to open the project.
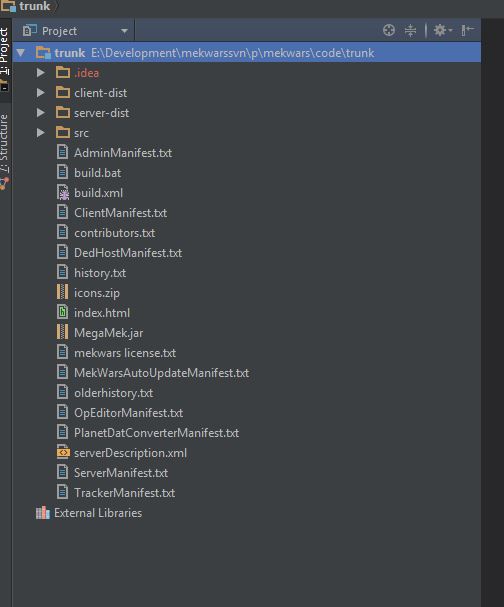
6. You should have a directory layout that looks like this
7.Highlight "trunk" and either press F4 or right-click and select "open module settings"
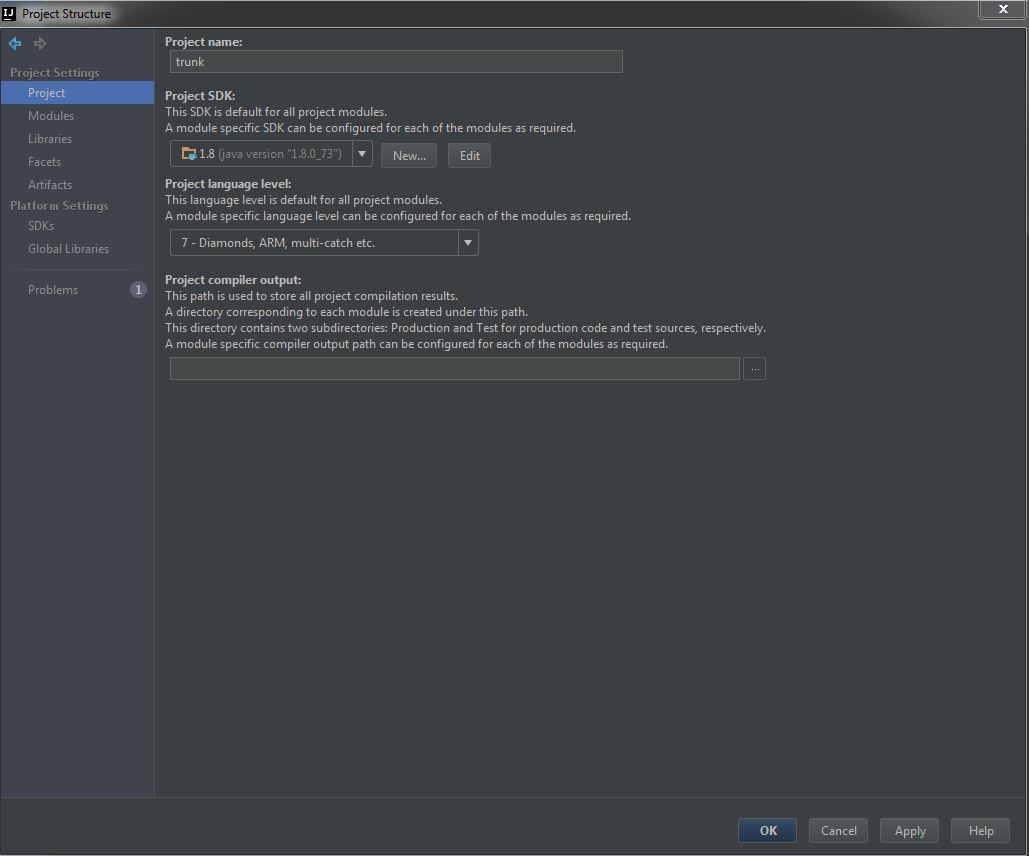
8.Select "Project". Set the SDK to your installed Java version. Set the Project language level to 7
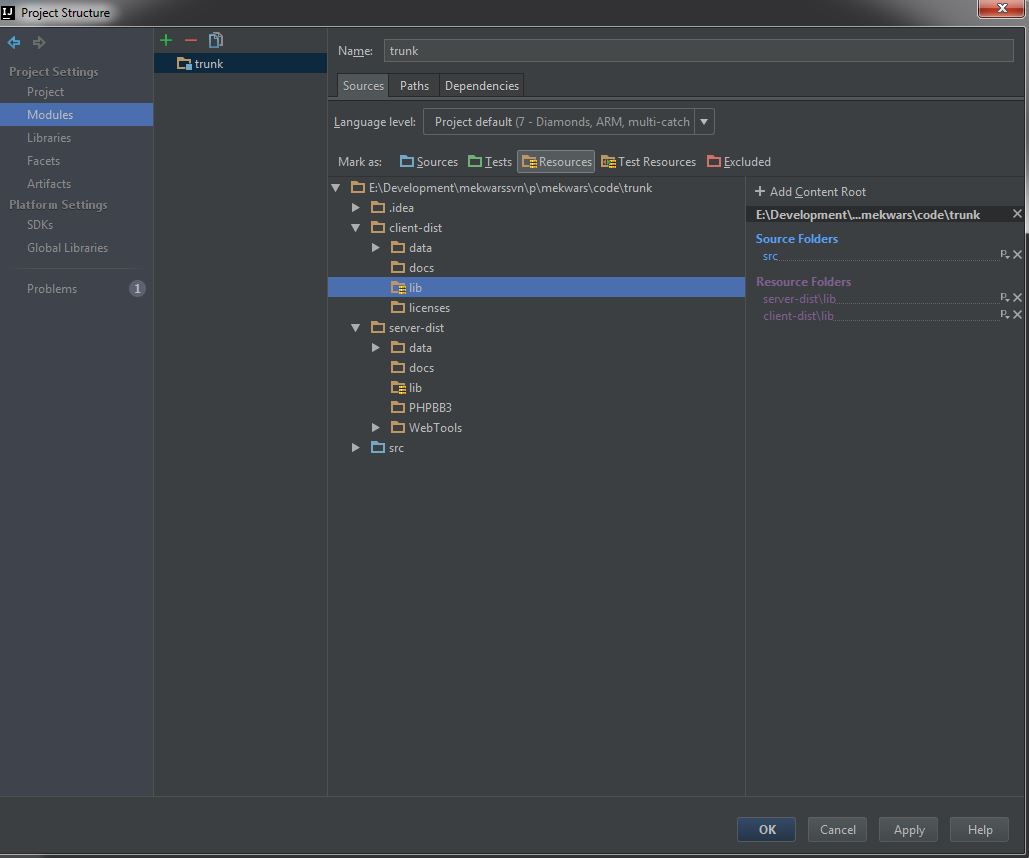
9.Select "Modules" and set the folders as shown in the screenshot below ( highlight src and click on "Sources" on top and do the same for resources and the client and dist libs ). Click OK when done
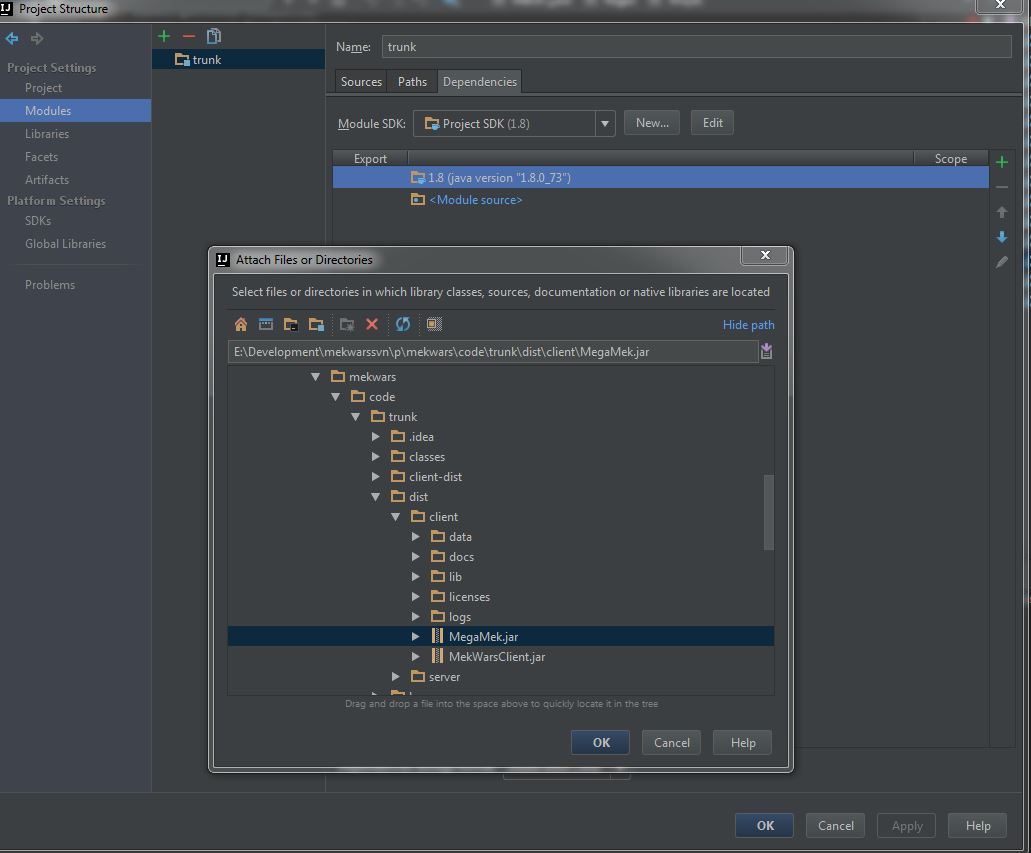
Then switch to Dependencies and click the green +
Select "jar or directory"
Add MegaMek.jar from one of the dist folders so that megamek classes are recognised by the ide as below.
If you still see some unknown classes in the IDE then add the dist/client/lib and dist/server/lib in the same way
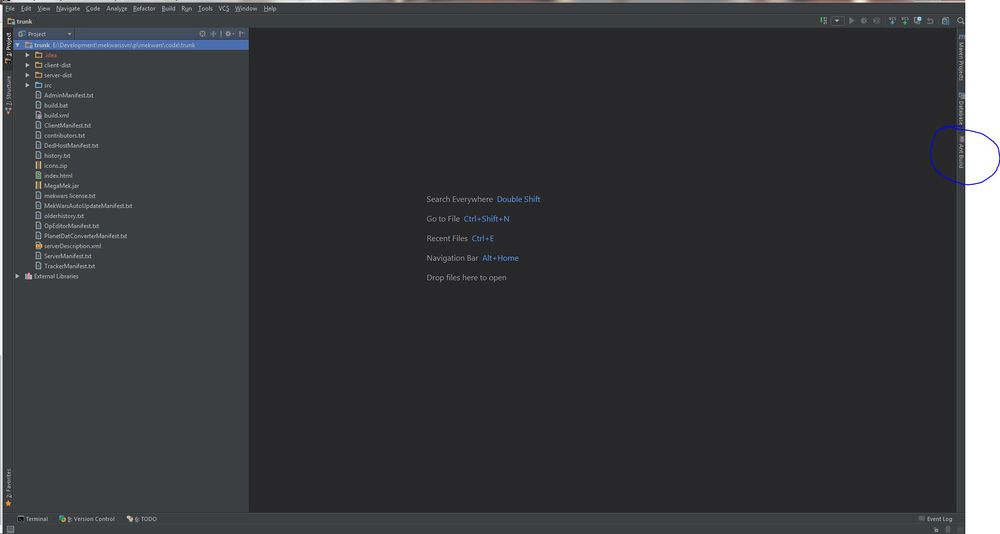
10.Click on the "Ant Build" option on the right. If the option doesn't exist, go to the View menu and check off the "Tool Buttons" option.
11.Click the green +
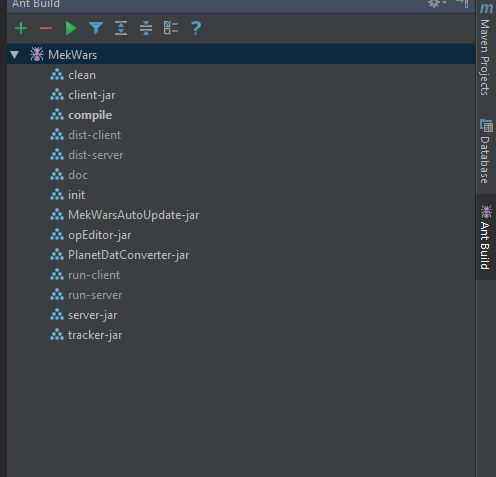
12.Select build.xml, you should see the following
13.Highlight "compile" and click the play button. Click messages at the bottom to see the ant build in progress
14.If this fails check the previous steps, if successful then highlight and run dist-client and dist-server
15.Assuming everything ran successfully you should have a "dist" folder in trunk now containing both client and server
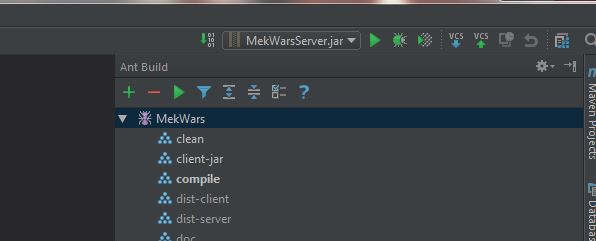
16.Expand dist/server and right-click on MekWarsServer.jar. Select "Run MekwarsServer.jar". It will fail immediately but you will notice it appear in the top right of the screen
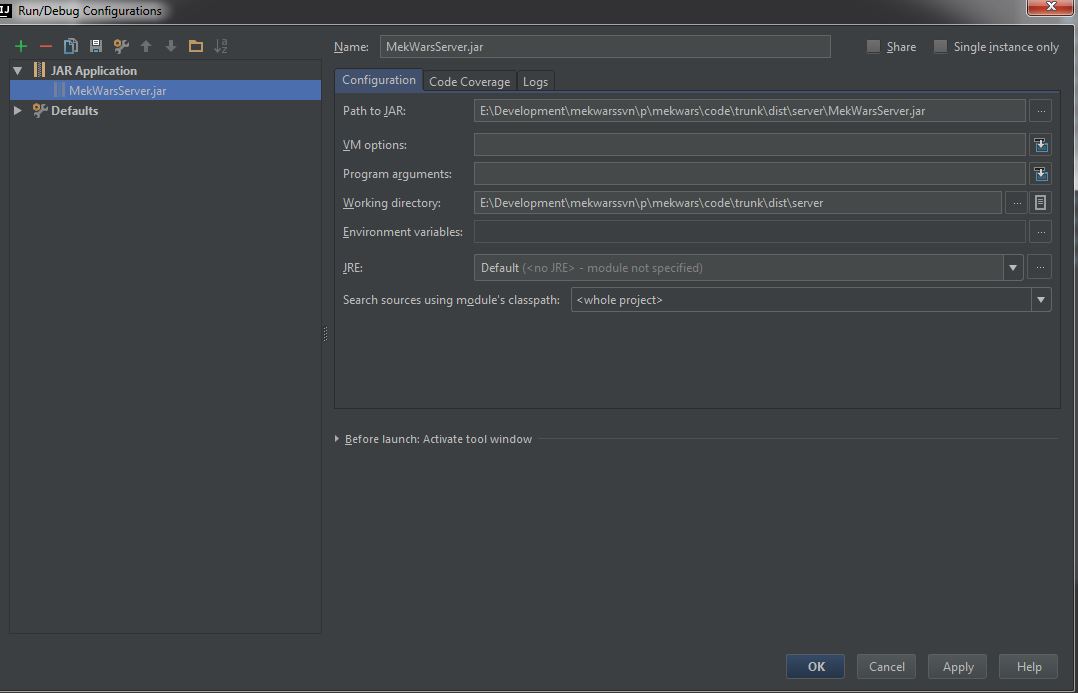
17.Click the drop-down and select "Edit Configurations"
18.Copy these settings (altering for your path ). The working directory is the important bit that was missing
19.Click ok and click the play button next to the drop-down. You should see the server called in the run window at the bottom of the IDE
20.Repeat steps 16 - 19 but for dist/client/MekWarsClient.jar and instead of hitting play at step 19 hit the bug next to the play button
21.Connect to 127.0.0.1 as a username with no password. If you set a breakpoint in the src folder by clicking on a line number then the IDE will pause and allow you to debug.
Note you can also debug the server in the same way
